Sunday, October 28, 2012

Vegan Roasted Butternut Squash Pasta Alfredo

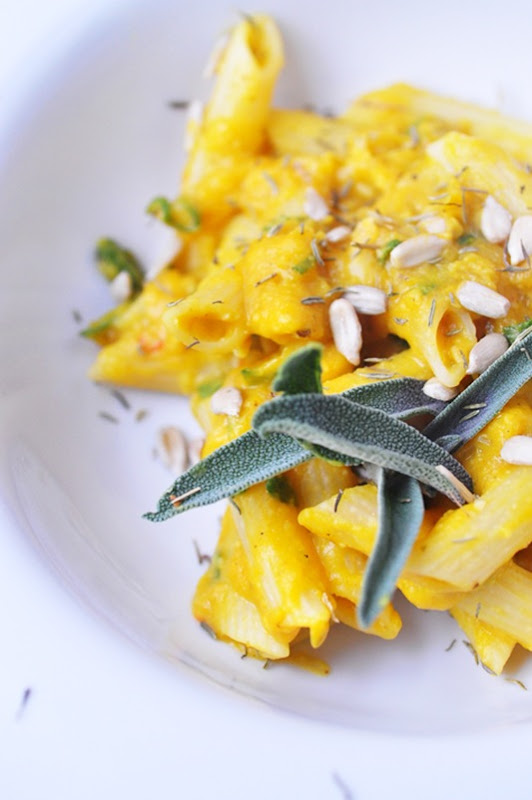
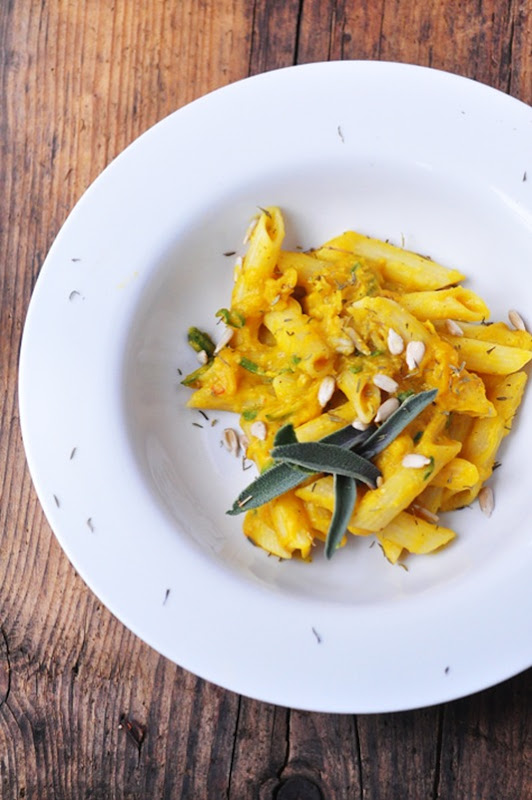
It is not just the primetime week for carved pumpkins, but also the time to get fresh and inexpensive butternut squash. A few days ago I had made a big pot of roasted butternut squash soup, but after 3 helpings I was kind of tired of more leftovers. So, I reinvented the rest into a brandnew meal: a vegan butternut squash alfredo sauce. It is so tasty even none-vegans will be delighted. Savory, rich, creamy with a slight hint of sweetness with maple syrup and the aroma of sage.

Note: Instead of the 1 1/2 cups of butternut squash soup you can also use simply roasted butternut squash.

butternut_squash_alfredo2

Vegan Roasted Butternut Squash Pasta Alfredo

(Makes 2 larger servings)

Alfredo sauce:

  • Base:
  • 1 1/2 cup roasted butternut squash soup (or fresh roasted butternut squash)
  • 3/4 cup hot water
  • 1/3 cup soaked cashew nuts
  • 1 TB nutritional yeast
  • 1 1/2 TB mellow white miso, sodium reduced

  • Rest of Alfredo sauce:
  • 1 ts olive oil
  • 1 small yellow onion, quartered and thinly sliced using a mandoline
  • 2 cloves garlic, microplaned
  • 1/2 cup dry white wine
  • 1 teaspoon fresh sage, thinly sliced
  • 1/3 ts of grated nutmeg
  • 1/2 TB maple syrup
  • Several dashes fresh black pepper
  • 1/2 teaspoon salt, or to taste

Pasta:

  • 4 oz penne pasta, cooked al dente
  • for garnish: fresh sage, pepitas or sunflower seeds, dried thyme

butternut_squash_alfredo3

Pour all the ingredients for the sauce base into a food processor (best: Vitamix for extra smooth texture) and puree. In a pan, heat the olive oil, add the onions and saute until slightly brown. Add the garlic, and saute for about another 1 min. Add the white wine, and reduce for ca. 1 min. Now add the base butternut squash base cream, and gently stir in. Add the sage, nutmeg, and maple syrup, and simmer on medium-low for a few minutes until slightly reduced. Add salt and paper to taste.

Add in the cooked pasta, and stir until the pasta is coated, and heat through for about 1 min. Serve with fresh sage, roasted squash seeds (caramelized!) and some dry thyme. Enjoy!
Thursday, October 25, 2012

Roasted Butternut Squash Soup

It is the time of soups again, and the time for ripe, inexpensive winter squash. Butternut squash is one of my favorite squash variety to make soup with (kuri the other). I have a handful of different recipes, one with coconut milk, another with a dash of cinnamon, or with sweet potato, but this basic recipe is still my most favorite: roasted squash with carrots, celery and a hot pepper for some spice kick. I left on the skin when I added the roasted squash to the soup, and it thickened the soup beautifully.

butternut_Squash_soup

Roasted Butternut Squash Soup

  • 1/2 TB olive oil
  • 1 shallot, peeled and diced
  • 1 hot red chili, diced
  • 3 garlic cloves, microplaned
  • 1 small butternut squash (ca 1-1 1/2 pounds), cut in half
  • 2 small carrots, peeled and diced
  • 2 stalks of celery, wiped clean and diced
  • 3-4 cups vegetable broth
  • Salt and pepper
  • optional: orange peel of 1/2 orange
  • crème fraiche, to serve

Preheat the oven to 375F. Half the butternut squash, and scoop out the seeds (preserve and clean or compost). Sprinkle with some salt and pepper, place on a baking sheet, and roast for ca. 30 min at 375F. 
In a large pot, heat 1/2 TB of olive oil. Once hot, add the diced shallot and the chopped red chili, stir and cook until softened (ca. 2-3 min). Add the diced carrots, the celery and the garlic and continue to cook for another 3-5 minute. Cut the soft and baked butternut squash into 2 inch pieces and add to the pot (if it is an organic squash you can leave on the squash skin; it will thicken the soup. If it is not organic, only use the flesh). Add the broth, and cook the soup for about 20 min until all vegetables are softened. Season with salt and pepper and fresh orange peel (optional). Using an immersion blender, and purée the hot soup. Serve with creme fraiche, or in my case with goat cheese crumbles, walnuts and cranberries.

Thursday, October 18, 2012

Home-grown radicchio

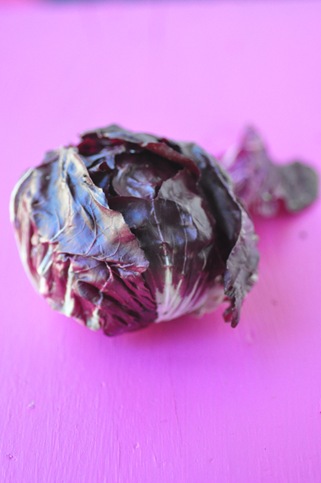
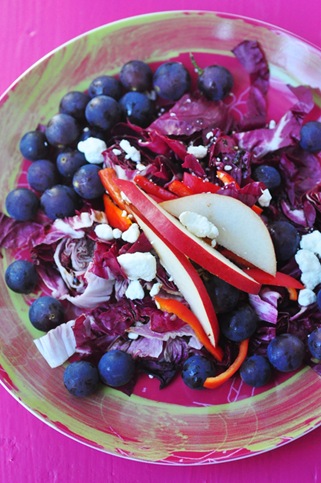
Every year I do a certain amount of ‘experimental gardening’, i.e. trying to grow something that I have never grown before, sometimes with the surprise factor of how these plants really grown and mature, seeing the entire process. There have been eggplants, soy beans, broccoli and this year I picked up a small container of radicchio plants at the farmers market in late spring. I planted the little seedlings in a pot and for most of the summer they grew into lettuce like green leaves, so I wrote it off as a failed experiment. Only by September did the plants develop dense little centers in dark red that resemble the radicchio I know from the store. This one (below) is the first one that makes it into my almost completely home-grown lunch salad with some concord grapes grown on the back of my garage.

home_grown_radiccio home_grown_radicc_salad

Tuesday, October 16, 2012

Small marbled bundt cake

What better to do on a rainy, cold October evening than to warm and sweeten it up with a small marbled bundt cake!

marbled_cake_sm_2

Small marbled bundt cake (for small, 6 cup bundt cake pan)

  • 10 T. (1 stick) unsalted butter, softened
  • 3/4 c. sugar (135 grams)
  • 1/4 tsp. salt
  • 1 tsp. vanilla extract
  • 2 free-range organic eggs
  • 1 2/3 c. (185 grams) all purpose flour
  • 1 1/2 tsp. baking powder
  • 1/2 ts baking soda
  • 1/4 cup buttermilk
  • 1/4 c. cocoa powder 

Preheat oven to 350F.

Cream butter, sugar and salt together for several minutes until light and fluffy (best in a standmixer). Add vanilla extract and one egg at a time. Mix well, and add in second egg.

Sift flour with baking powder and baking soda. Add flour in two parts, alternating with half of the buttermilk each time. Divide batter equally into two bowls.Sift cocoa over the batter in one bowl and mix well. Add 1 tablespoon of milk to cocoa batter to thin.

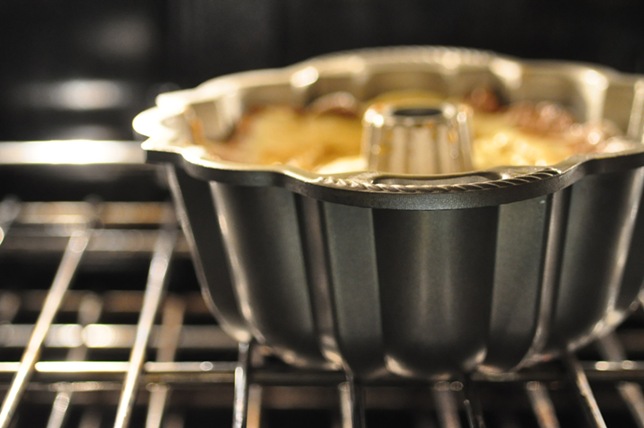
Spray the bundt form with a baking spray. Place half of the “white” batter in the form or pan. Add all of the dark/chocolate batter on top and distributed around the form with a spatula. Finish with the remaining white batter. Place a spatula vertically in the batter and draw it around the form once to swirl. Smooth the top.

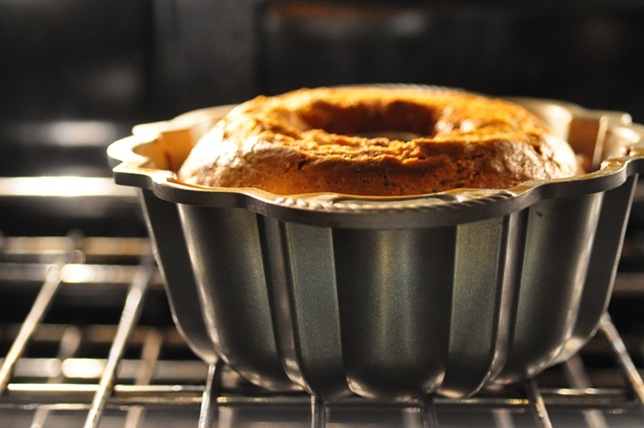
Place the cake in the oven and bake for 35-40 minutes, or until a cake tester comes out cleanly. Remove from oven, cool slightly and then turn out on a cake rack to cool further.

Home-made chocolate glaze:

  • 1 cup semi-sweet chocolate chips
  • 2 TB unsalted butter
  • 1/3 cup confectioners sugar
  • 2 tablespoons warm milk
  • 1 ts rum extract
  • 1 ts vanilla

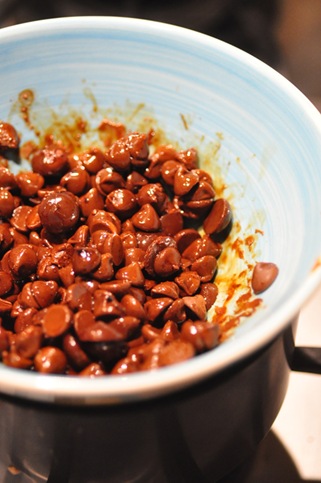
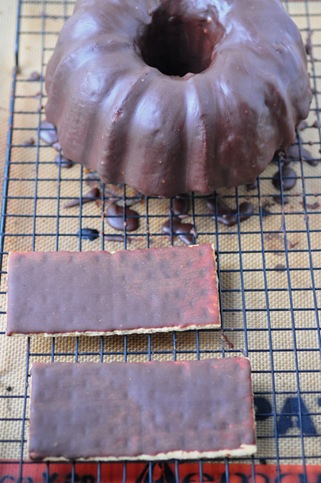
Pour the chocolate chips in a glass bowl or a ceramic bowl, and set it over a pot with boiling water on the stove (the bowl should not touch the water). Stir continuously until the chocolate chips start to melt. Add in the butter, and melt it with the chocolate chips. Once it is all a creamy, lump-free consistency, add in the milk, the rum and vanilla extract. Once incorporated, take the bowl off the pot, and continue to stir while adding in the confectioners sugar. Keep stirring. Brush the cake with the chocolate glaze. The glaze will thicken when cooled, and it is great to have a 1/4 of an inch thick glaze on the cake. (Leftover chocolate glaze is great on graham crackers… )
Let cool and dry for about 4-5h before serving. The cake actually tastes better with time; at the beginning it is dry and light and slightly crumbly, and after a week it becomes moist with an intense nutty flavor. It should be stored cool and airtight. 

marbled_cake_sm_1


marbled_cake_sm_3 marbled_cake_sm_4